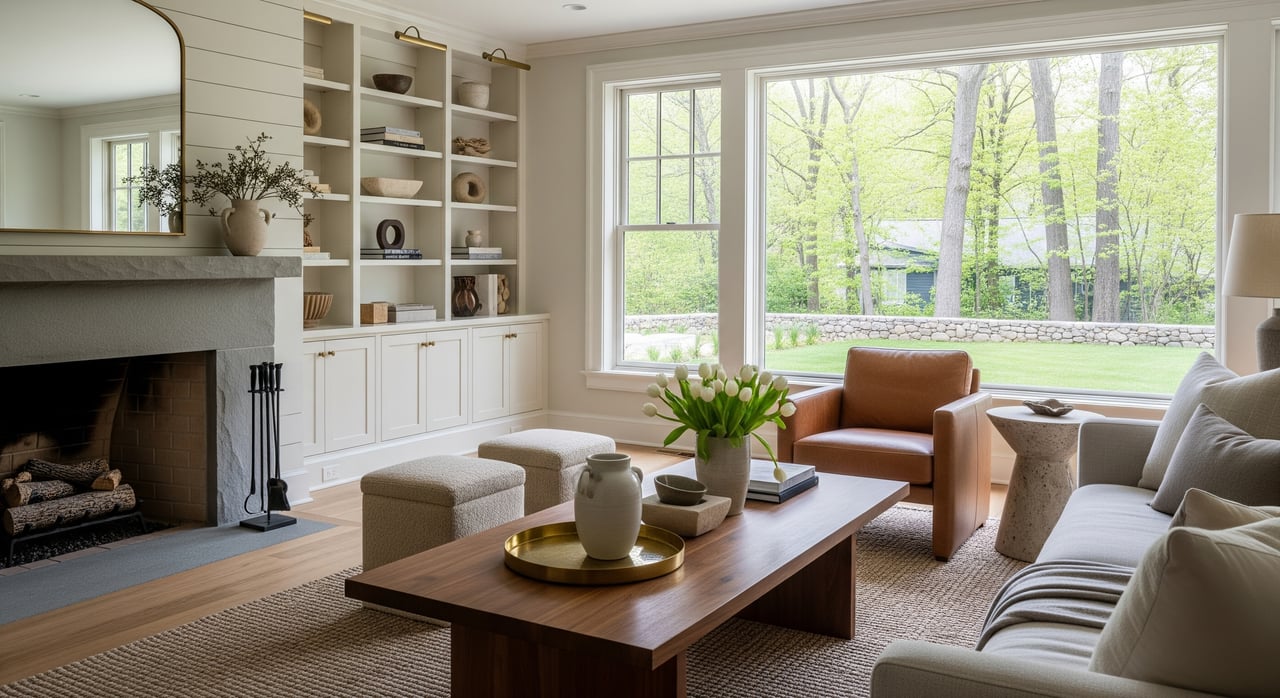
Thinking about listing your Lynnfield luxury home this spring? You know first impressions matter, and today’s North Shore buyers expect quality, comfort, and a clear sense of how a home lives day to day. With the right staging plan, you can showcase scale, highlight lifestyle amenities, and present a move-in-ready feel that stands out online and in person. In this guide, you’ll learn practical, Lynnfield-specific strategies, a room-by-room checklist, lighting and scale tips, a simple 6-8 week prep roadmap, budget priorities, and how Compass Concierge can help fund improvements. Let’s dive in.
Why staging matters in Lynnfield
Luxury buyers in Lynnfield often include commuting professionals and downsizers seeking an upscale suburban lifestyle with convenient access to Boston and North Shore amenities. They look for tasteful updates, functional spaces, and a seamless indoor–outdoor flow. Strong presentation helps larger rooms feel purposeful and helps buyers picture daily routines, from morning coffee to weekend entertaining. In competitive spring markets, a polished staging and photography plan can attract better-qualified showings and support a faster path to contract.
Core staging principles
- Scale and proportion: Match furniture size to room dimensions and ceiling height. Avoid pieces that overwhelm or undersell the space.
- Quality over quantity: Use fewer, well-made items that read beautifully in photos and feel elevated during showings.
- Warm, neutral palette: Start with soft neutrals, add texture, and limit accent colors to one or two curated tones.
- Function-first vignettes: Stage rooms to show a clear purpose like formal dining, media viewing, or a work area.
- Light and sightlines: Maximize natural light, keep windows clear, and showcase connections to patios, decks, and yards.
- Less personalization: Remove highly personal items so buyers can easily imagine themselves in the home.
Room-by-room checklist
Entry and foyer
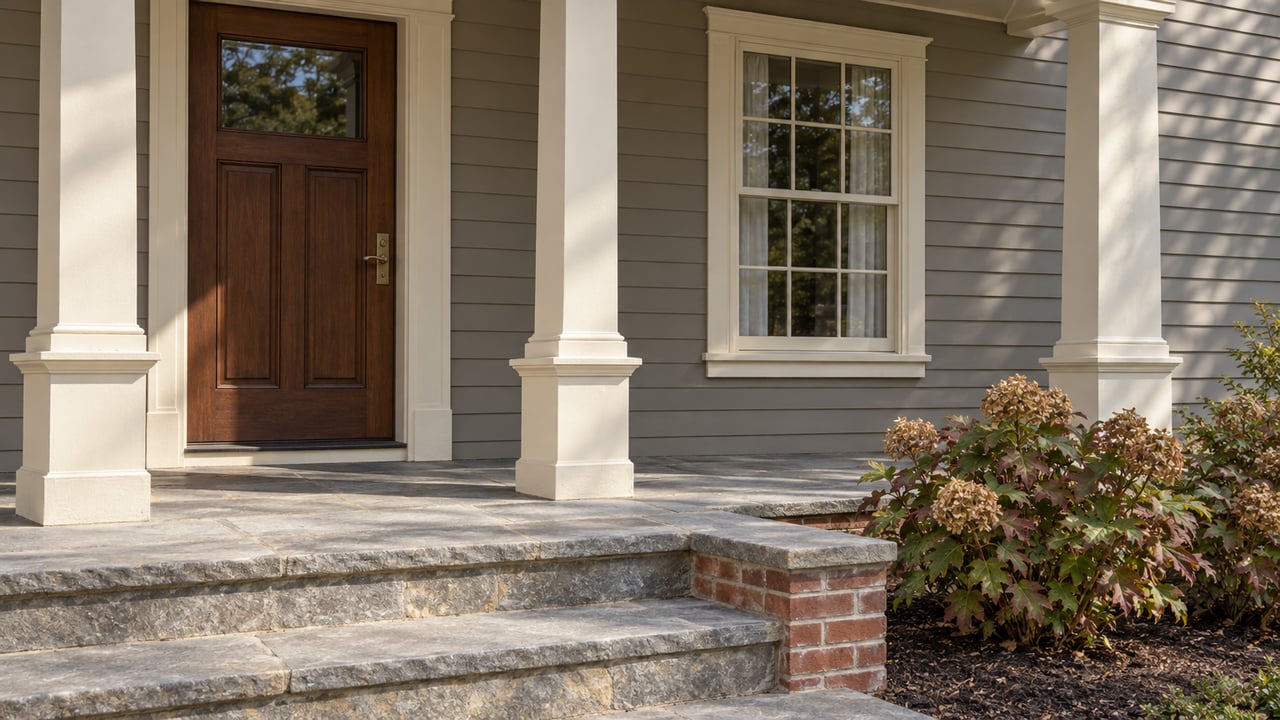
Create a welcoming moment with a well-proportioned console, mirror, and fresh florals or greenery. Keep the sightline open to the main living space. Maintain a clear path for smooth traffic flow during showings.
Living room or great room
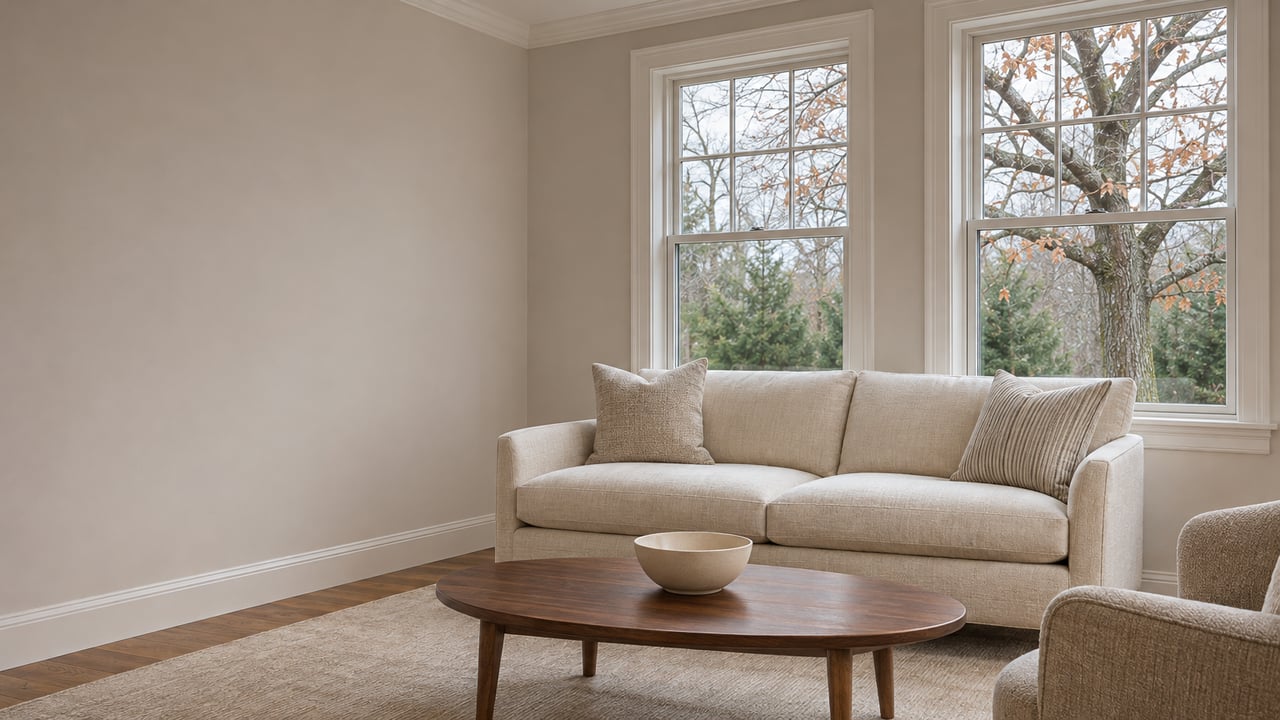
Arrange seating to encourage conversation and to show the room’s scale. Anchor with a correctly sized rug that catches all front legs of major pieces. Layer ambient, task, and accent lighting for depth.
Formal dining
Set an appropriate number of seats and use a simple, elegant centerpiece. Keep place settings minimal and linens crisp. Show a natural flow toward the kitchen or server area to cue entertaining.
Kitchen
Clear counters and style a light breakfast vignette like a bowl of fruit or an open cookbook. Spotlight premium appliances and add under-cabinet lighting if available. Consider a small bar cart or casual stools to suggest hosting ease.
Primary suite
Use a suitably scaled bed with a headboard and quality linens. Add a small sitting area if space allows for a quiet retreat. Keep closets tidy and partially stocked to showcase storage.
Baths
Aim for a spa-like feel with folded white towels, a plant, and minimal accessories. Keep counters clear and lighting warm. Replace worn mats and polish fixtures.
Home office
Stage a purposeful workspace with a desk, ergonomic chair, and simple shelving. Add subtle props like a closed laptop and a notepad to suggest productivity without clutter. Emphasize good lighting and an organized backdrop.
Mudroom, laundry, and garage
Demonstrate smart organization with labeled baskets, hooks, and tidy shelves. Keep floors clear and surfaces clean. Show easy, commuter-friendly drop zones.
Finished lower level, media, and specialty rooms
Give each area a defined use like theater seating, a game table, or a bar setup. Ensure lighting supports the function and that traffic paths are clear. Highlight usable square footage with purposeful furniture placement.
Outdoor living and landscaping
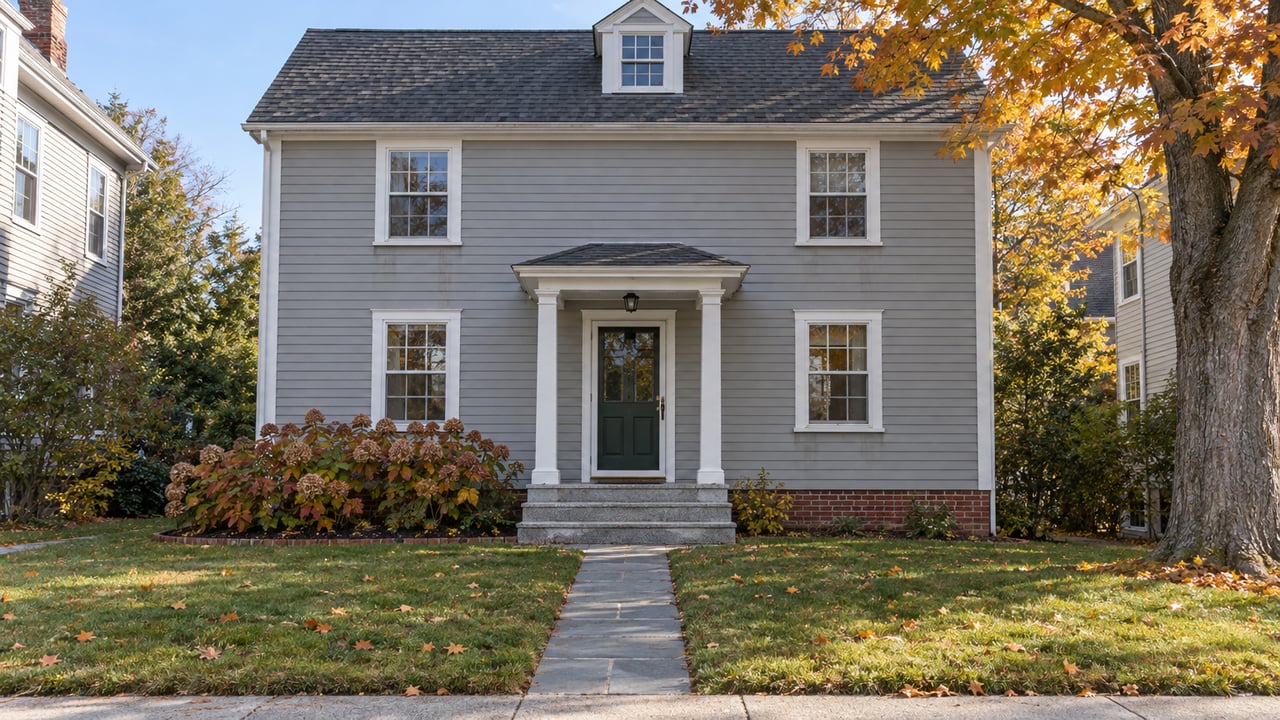
For spring, power-wash hardscapes, add seasonal planters, and stage dining and lounge zones. Emphasize clear connections from kitchen or great room to the patio or deck. Keep pathways and steps visible and safe.
Closets and storage
Use matching hangers and leave space between items to signal roominess. Highlight built-ins with neat stacks and labeled bins. Keep floors clear for a tidy look.
Light, scale, and amenities buyers notice
Lighting that flatters
Use layered lighting: overhead for ambient, task lighting in kitchens and offices, and accent lights on art or millwork. Choose warm-white LEDs around 2700–3000K in living areas for an inviting tone. Install dimmers in primary living spaces to set mood for showings and photography. Highlight focal points like mantels and architectural details with targeted lighting.
Furnishings and scale
Select rugs that anchor seating so at least the front legs of major pieces sit on the rug. Maintain clear walkways about three feet wide to support natural flow. In rooms with tall ceilings, use taller bookcases or full-length drapery to balance vertical volume. Choose a few larger art pieces over many small items for a refined look.
Amenities that resonate
Stage to reflect Lynnfield living: an organized drop zone for commuters, a flexible office that supports hybrid work, and indoor–outdoor spaces that hint at coastal leisure without heavy nautical themes. Showcase entertaining flow with formal dining, a bar area, or outdoor kitchen seating. Subtly spotlight updated systems and high-end finishes in kitchens, baths, and custom built-ins.
6-8 week prep roadmap
Weeks 6-8: Plan and prioritize
- Meet with your agent to review comparable listings, timing, and budget.
- Order a pre-listing inspection and get bids for any essential repairs.
- Get a staging estimate and line up landscaping services.
- Start painting key rooms in warm neutrals and schedule any flooring work.
Week 4: Complete refreshes
- Finish carpentry, paint, and flooring touch-ups.
- Deep clean the home, including windows, tile, and carpets.
- Finalize the staging plan and reserve rental pieces if needed.
- Set your professional photography date after staging is installed.
Weeks 1-2: Install and fine-tune
- Install staging and confirm room functions are clear.
- Refresh landscaping, mulch beds, and add seasonal planters.
- Replace bulbs, consider new fixtures and dimmers, and update select hardware.
- Complete a final detail clean before photos and showings.
Listing week: Go to market
- Confirm staging is pristine and lighting is consistent throughout.
- Check scent, temperature, and showing flow before buyers arrive.
- Provide a staging inventory and room-use notes to your photographer and agent.
Budget priorities and smart spends
- High-impact, lower-cost: fresh paint, decluttering and organization, lighting upgrades, and curb appeal improvements. Typical refresh budgets can range from about $1,000 to $5,000 or more depending on scope.
- Medium to higher-cost: partial or full professional staging, cosmetic kitchen and bath updates, and flooring refinishing or replacement. These projects can range from about $10,000 to $50,000 or more based on home size and selections.
- Major renovations: evaluate structural changes or system replacements carefully against local comparable sales. These are rarely last-minute fixes for a near-term sale.
How Compass Concierge can help
Compass Concierge can fund approved pre-listing improvements with no upfront payment from you. Eligible costs often include staging, painting, lighting updates, landscaping, and professional photography, with repayment at closing. Program details can vary by market and time, so confirm terms with your agent.
Use Concierge funds where they matter most:
- Enhance first impressions with painting, lighting, and landscaping.
- Stage key rooms including the main living areas, kitchen, primary suite, and outdoor spaces.
- Address visible cosmetic updates that elevate photos and in-person appeal.
Your agent coordinates vendors, timelines, and invoices so the process stays on track and aligned with your target market window.
Measuring results and avoiding pitfalls
Track showings, days on market, buyer feedback, number of offers, and the sale-to-list price ratio to assess impact. Benchmark your results against similar Lynnfield luxury comps where possible. Avoid over-staging with overly specific styles that limit appeal. Be mindful of over-spending on upgrades that exceed neighborhood norms, and complete all work before photos to capture peak momentum.
Your next step
If you want a seamless, high-impact launch this spring, partner with a local team that handles staging, vendor coordination, professional media, and Compass Concierge in one streamlined process. We’ll help you align budget with market expectations, showcase scale and lifestyle, and go live with confidence. For a tailored plan and pricing guidance, connect with Leeman & Gately.
FAQs
What is the benefit of staging for Lynnfield luxury homes?
- Staging clarifies room function, highlights scale and finishes, and helps attract higher-quality showings that can shorten time to contract.
How much should I budget for staging and prep?
- Many sellers see strong returns from $1,000 to $5,000 refreshes, while larger homes may benefit from $10,000 to $50,000 or more including staging and cosmetic updates.
Is partial staging enough for a larger home?
- Often yes; focusing on the entry, main living areas, kitchen, primary suite, and outdoor spaces can deliver strong results.
How does Compass Concierge funding work for sellers?
- Concierge can cover approved pre-listing improvements with no upfront payment, and you repay the costs at closing per program terms.
Can virtual staging replace physical staging in Lynnfield?
- Virtual staging can boost online presentation, but physical staging typically performs better at showings; you can use both when appropriate.
How long should staging remain in place during the sale?
- Keep staging through photography and all showings, and remove it only once you are under contract and timing is coordinated with the buyer.